Building a Free Blog with GitHub Pages in Minutes
This blog post is pending update, but I want your help!
Hello there fellow internet traveler. When I wrote this post a over a year ago…I did not expect it to become as popular as it is today. 99% of the traffic for this post comes from simple Google searches, many times it appears above GitHub’s own instructions for Github Pages. In fact…most of the traffic to this website is just this post alone.
I originally wrote this post to help other members of the SQL Server community who wanted to get into blogging. I spent a lot of time customizing this blog to support the SQL Server language syntax highlighting. But…over time, the audience for this post has changed quite a lot.
If you read this post and would like to help me improve it, please comment below, send me an email or a tweet, and let me know how I could improve this post for you and future readers.
Thanks!
Disclaimer: If you’re familiar with GitHub Pages, Jekyll, etc. You might notice me saying some “incorrect” things…this is because I’m trying to keep it simple. I might say “you have to do it this way”, but you, Jekyll expert, may know that’s not true.
“How do I start blogging?”
“How do I set up a blog?”
“What blogging platform should I use?”
“How do I get that cool code highlighting on my blog?”
This was me, 3 months ago. I played around with various blogging platforms and they seemed okay, but for some reason, none of them really did what I wanted. Eventually I learned about GitHub Pages. It’s a service provided by GitHub; They allow you to host a static website (no backend code), and they host it for free.
GitHub Pages is great, but when you start learning “how to blog using Jekyll”, things get pretty overwhelming…You start learning about ruby and Jekyll and how to get them working on Windows (which is a pain), learning languages like YAML and Liquid…It gets complicated real quick.
Here’s what I’ve done
I’ve taken this blog, stripped out unnecessary extras and converted it into a template you can use. I’ve left in features that I think are helpful for a blogger who wants to cover SQL Server. For example, I built this template to support T-SQL specific syntax highlighting using the SSMS theme.
Your first blog doesn’t need to be a fancy, professionally designed website. You just need good content, and setting one up should be as simple as a few clicks, maybe filling in some personal info, and you’re done.
That is what I’ve tried to set up for you.
Let’s get started
Step 1 - Create a GitHub account
If you don’t have a GitHub account, create one, otherwise go log in.
Note: Your username will eventually be part of your websites URL, so just keep that in mind when picking a username.
Step 2 - Open the template I built for you
After logging into your GitHub account, open this link and follow the instructions in Step 3:
https://github.com/chadbaldwin/simple-blog-bootstrap/generate
Step 3 - Name and create your repository
*If you don’t name your repository correctly, none of this will work
Name your repository like this: {Your GitHub username}.github.io
If your GitHub username is “chadbaldwin”, then name it chadbaldwin.github.io
If your GitHub username is “giraffeface”, then name it giraffeface.github.io
Make sure you leave it set to “Public”. If you set it to “Private”, your website will not be published.
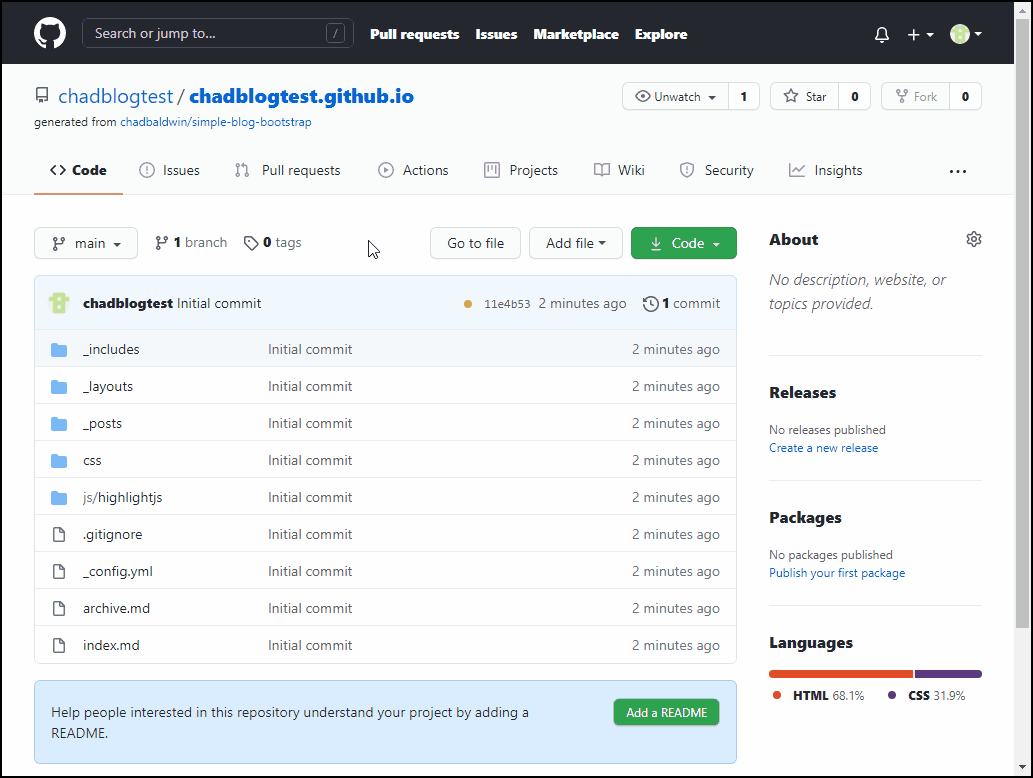
Now you can click “Create repository from template”.

Congrats! You just set up a SQL blog! (kinda) I mean, it’s just the default template. We still need to add things like your name, maybe a personal bio, your social media usernames, and, you know…some blog posts. But other than that…you now have a published and viewable blog on the interwebs.
There may be a few minute delay, but eventually GitHub will recognize that you created a GitHub Pages repository, it will automatically pick it up and create your website. And they will do this, every time you make a change.
If it’s been a few minutes…go check out your new site! Your blogs home page will simply be the name of the repository.
Like this: https://chadblogtest.github.io
Customization
It’s great and all that you have this fancy blog now…but, you probably don’t want your site saying “Default Author Name” all over the place, and you probably want to change the blogs name to something other than “My Blogs Name”.
In order to edit these things, we’ll need to make some changes to this file: _config.yml
If you don’t want to provide an email, or any of the social media usernames, you can simply comment them out using #
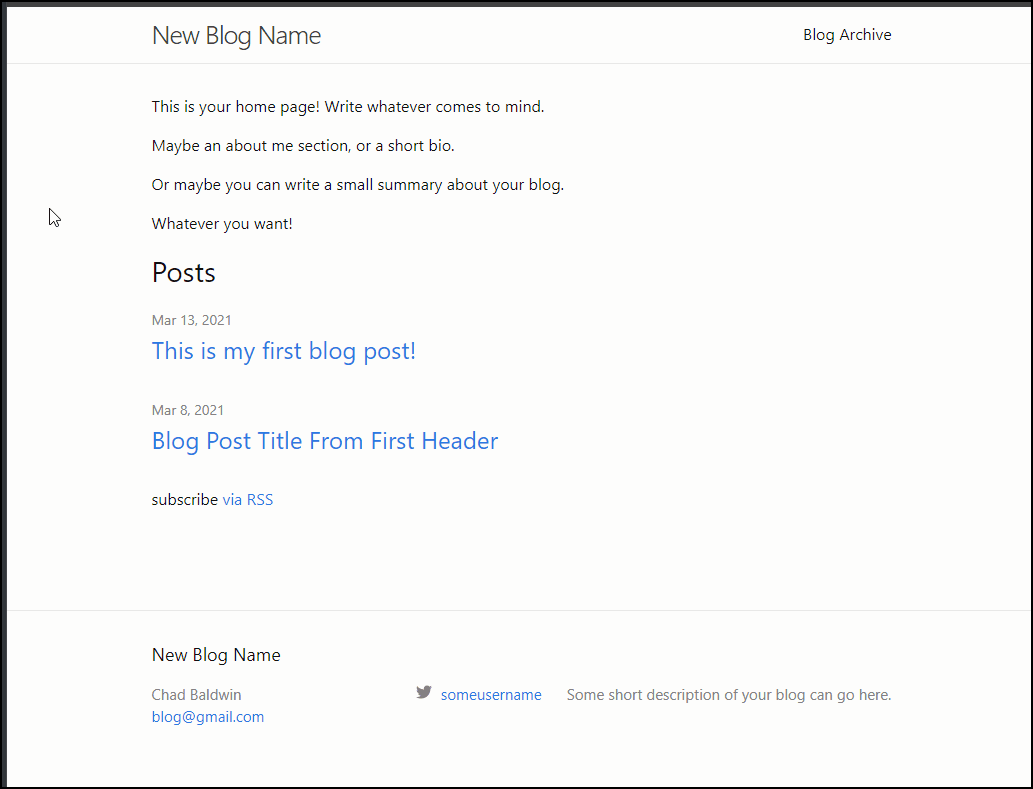
Next, you’ll want to customize your home page. Here you can write a small bio about yourself, or maybe a summary of what your blog is about. That’s up to you.
To edit the home page, it’s the same process we just went through to edit the _config.yml file, except this time, you’ll want to edit the index.md file. This is your home page.
Open up index.md, hit the edit button, and start writing. If you know how to use Markdown, you can use that for formatting, but if you don’t, that’s okay, don’t worry about it, just write whatever you want, no need to worry about HTML or CSS or anything like that.
You might be tempted to immediately go to your site to look at the changes, but like I mentioned earlier, you need to wait a minute or two for GitHub to detect that you made changes, and then it needs to rebuild your site. But eventually, you’ll see the changes.
Your first blog post
You may or may not have noticed, there’s already a blog post in there. Take a minute to look at it in the browser, maybe even view it on your phone to see how it looks.
Then go back to GitHub to view the files. Blog posts are stored in the _posts folder and you will see a file in there for the sample blog post.
Before we dive too deep into this, let’s lay out a some of the things you need to know about blogging with GitHub Pages:
-
GitHub Pages uses software called “Jekyll” to handle all the fancy stuff behind the scenes. Jekyll is what converts your blog post files into nicely formatted HTML that you can view in the browser. Jekyll is capable of doing a TON of great stuff, but for now, that’s really all you need to know.
-
Blog post files should always be named using this format:
yyyy-mm-dd-your-blog-post-name.md -
A post written on January 28th, 2021, would be named
2021-01-28-my-blog-post.md. Be careful not to use future dates because the post won’t show up. -
Posts are written in markdown, if you don’t know it, don’t worry, there’s not much to it. See this post by GitHub to learn some of the basics.
That’s about all you need to know to get started.
Lets create a new blog post
- Navigate to the
_postsfolder on GitHub - Click
Add file>Create new file - Name your file
2026-07-23-your-new-blog-post.md - Set the title of your blog post by using a markdown header
- Write this as the first line
## This is my first blog post
- Write this as the first line
- Add some content…write some random things, whatever you want
-
Throw in a code block (code blocks are created by surrounding your code snippet with three backticks at each end and an optional “language hint”), copy paste this in:
```tsql SELECT * FROM sys.tables WHERE [name] = 'SomeTable' ```- Important note, if you’re using T-SQL code, make sure to use the
tsqltag. This will tell your site that you want to use the SSMS style formatting.
- Important note, if you’re using T-SQL code, make sure to use the
- Click the
Previewtab so you can see what it looks like so far.
Here’s a full playback of what it would look like:
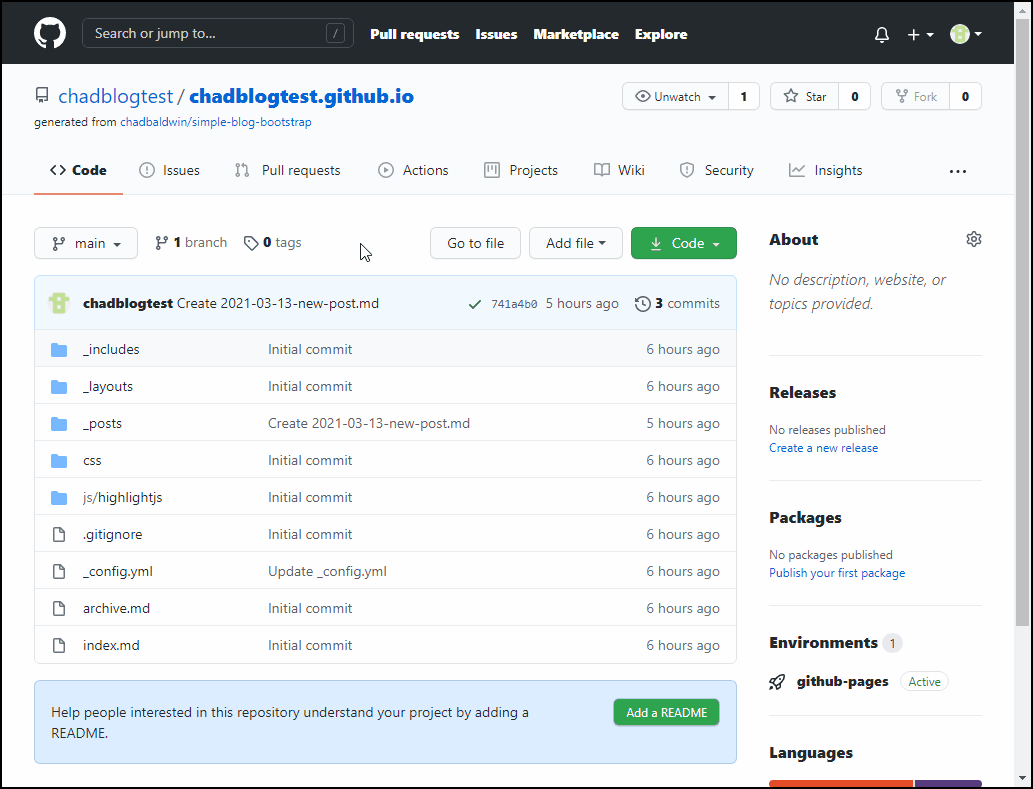
Once you save (Commit) the file, after a minute or two your new post will show up on the home page, ready for everyone to read it.
Note: Once you’ve got this figured out, you’ll probably want to delete those sample blog posts. You can delete them using the trash bin button that is next to the edit button you’ve been using to edit files.
Checking out all the new changes
Now that you’ve updated your settings, you’ve renamed your blog, customized your home page and created your first blog post…now you can go and check it all out…
Where to go from here
If all you care about is getting content out there, then there isn’t much more you need to know. Once you’ve got your site set up and configured all that’s left is creating the blog post files (naming them properly), writing content, and maybe learning a little bit of markdown.
If you’re interested in diving deeper into Jekyll, how it works behind the scenes, or other things you can do with it, let me know, I’d love to write some blog posts about it. I’ve had a lot of fun figuring out how to get it all set up and working.
There’s lot of things you can do to this template, fairly easily, to add some fun features. Things like a comments section on your posts, adding a dark theme to your entire site or maybe you want to add some custom pages, like my book tracking page or my resume. The possibilities are endless…but, it comes at a cost, it all has to be done manually by writing or copy/pasting code, learning new languages like HTML, CSS, Liquid, YAML…this is where platforms like WordPress starts to shine.
I realize this particular setup may not work for everyone, and in the long run, it may even be more complicated than just sticking with a popular blogging platform, with their fancy UIs, plugins, etc. But I’ve had a lot of fun learning about GitHub Pages, Jekyll, Markdown, etc, so I figured I’d share how I got started, and try to make it easier for you if this is the route you’re thinking of going.